Paint protection film (PPF) can protect your car from damage. And it is popular for car lovers to put PPF on headlights. This is not a challenging job, but wrong approaches can crack the surface of the lights or bring other harm. For your reference, here is a proper workflow for installing gloss PPF on a headlight in an smart way:
Cleaning
Good prepping leads you closer to success. First, spray the surface of the headlight thoroughly with soapy water, and clean it with clay bar next. Then, wipe it with a microfiber towel to dry it out.
Next, you can take a steamer to flush the edges. Put your squeegee in a microfiber towel and spray degreaser on it. You can then degrease the edges. Once you finish with the edges, use a safe cleaner to clean the main surface area again.
Measurement
As soon as the cleaning is done, measure the headlight from top to bottom and cut off the PPF you need on a working table. Make sure you leave enough extra material for the bleed when cutting. Here is a trick for a smoother installation when you have the exact panel: Use a backing paper cutter to cut the sides of this piece (But do not remove the liner just yet).
Installation
You can now take the panel to the car and secure it on the hood first. If you use magnets, you can put magnets on the two sides, exactly where the backing paper is cut. Next, spray slip solution evenly on the surface of the headlight. You can then pull off the liner of the middle part of the panel and spray on the PPF as well. Keep the liner of the sides still.
When you finish spraying, you can release the backing paper on the sides. Since they are dry, you can handle the panel more easily. Apply it to the headlight with one of the dry sides secured on the front fender, and stretch the PPF towards the other side of the light by holding the other dry side.
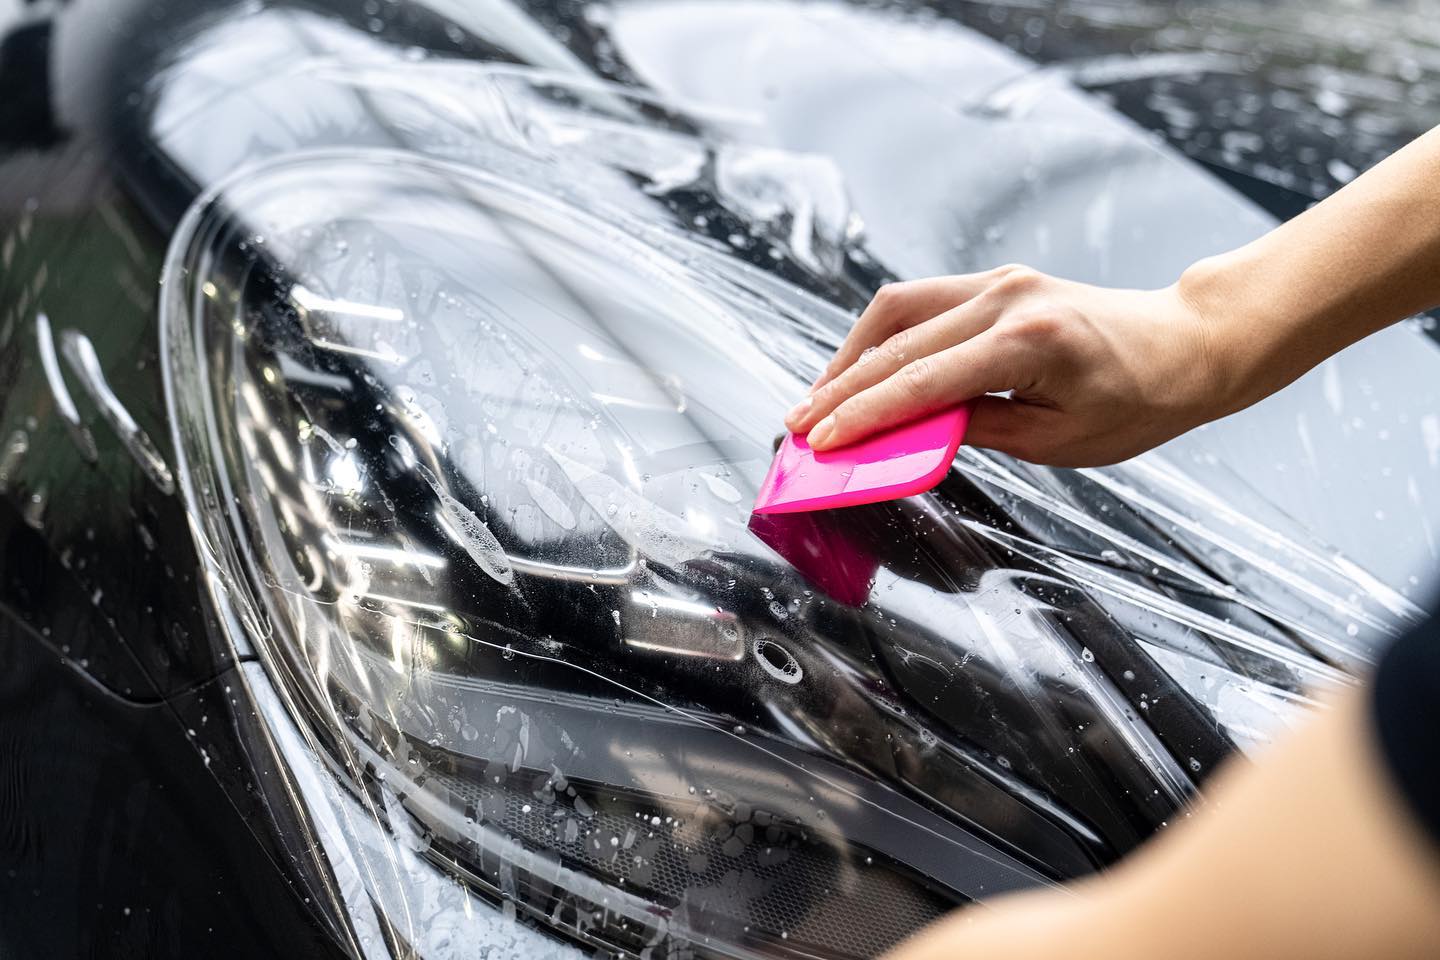
Doing this will help you set the PPF in place with high efficiency. Now it is all about spraying, gliding, and using your squeegee to conform the piece to the light. Once the film is correctly set, cut off the excess with a sharp blade and seal the edges. Double-check if everything is nice and tight. You can also go over the surface with steam to activate the adhesive.
To know about PPF installation for headlights, visit teckwrap.com. You can also learn detailed light preparation through our previous article Safe Light Prepping for PPF Application.