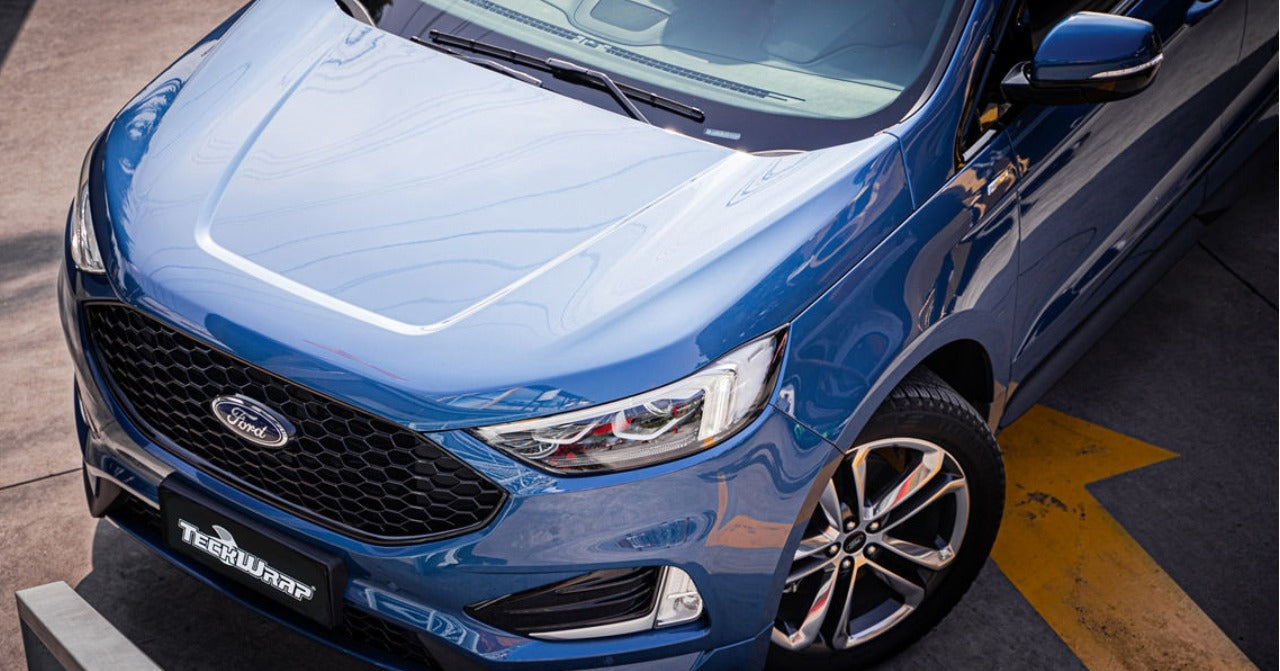
Wrapping your car's hood is a popular way to customize its appearance without committing to a permanent paint job. While it can be challenging, following a structured approach can help you achieve a professional-looking result.
Setting the Stage
Before starting, ensure you're working in a temperature-controlled environment between 16 and 23 degrees Celsius. This temperature range is ideal for optimal vinyl durability.
A clean and organized workspace is crucial, preventing debris from interfering with the installation process and ensuring a smooth workflow.
Preparing Your Car
Begin by measuring your hood and cutting a slightly larger piece of vinyl to accommodate adjustments. Carefully remove any emblems using masking tape to avoid scratching the surface.
Clean the hood thoroughly with a car cleaning solution and microfiber towel, followed by using a clay bar to remove imperfections and contaminants. Degrease the hood to ensure good adhesion.
Next, apply a light coat of slip solution to facilitate vinyl movement and avoid accidently scratching the finish. Finally, mask the top corners near the windshield and optionally the sides to lower surface energy around the application surface. Last but not least, use a core tube to prop the hood open for easier access.
Getting the Vinyl Ready
Having a partner can significantly simplify the process, especially for large areas like the hood. Their support can make the task less daunting and more enjoyable.
Before applying, if your vinyl wrap film is directional, make sure it is oriented correctly. Lay the material on the hood and trim it to a manageable size.
Wrapping the Hood
Start by dividing the hood into sections, focusing on one side at a time. Peel back a manageable amount of backing paper at a time, gently heat the vehicle wrap with a heat gun while holding it lightly off the surface, and shake the vinyl. Doing these can relax the material and reduce tension.
Hook the vinyl down to the surface and apply additional heat before using a squeegee to firmly press it onto the hood, working from the front to the windshield. Repeat this process for the other side.
For the front edge, gently lift the car wrap and squeegee it down along the edge, applying heat back and forth. The film's memory effect will allow it to shrink and adhere securely to the edge. Tuck the vinyl underneath the edge for a perfect seal.
Trimming the Excess
Start trimming the excess vinyl from the corners and seal the material after each cut. Because the wrap film is relaxed enough by being applied in this way, you can feel free to aim for a flush cut to the edge.
Finishing Touches
Carefully inspect the hood for any bubbles or wrinkles. If you notice any, apply additional heat to the edges and corners to ensure a secure finish. This will help the vinyl conform to the surface and eliminate any imperfections.
By following these steps and taking your time, you can successfully wrap your car's hood and achieve a custom look that will turn heads. The professional result you'll achieve will be a source of pride and satisfaction. Learn more wrap tips at teckwrap.com

