
Wing mirror wraps instantly add custom style to your vehicle. To wrap a car mirror, clean the housing, cut a piece of vinyl larger than the mirror, apply the film gradually, and use gentle heat and a squeegee to smooth the material around curved edges. A car mirror wrap makes a big impact on your ride's overall look. Best of all, it's budget-friendly and easy to install. Here is the process in detail.
Tools Needed to Wrap Side Mirrors
First things first. You must have all these tools within reach before applying vinyl to the mirror housing:
- High-quality vinyl wrap film
- Felt-edge squeegee
- Utility knife
- Heat gun
- Gloves
- Microfiber cloths
What is the Best Vinyl for Car Mirrors
The best vinyl for car mirrors is a high-grade, polymeric conformable film with air-release channels. TeckWrap offers over 300 colors, making it easy to find the perfect contrast for your car's paintwork. Here are some of the finishes that you can go for:
- Gloss black: The most popular choice. It gives a sleek, sporty contrast and goes with almost every OEM shade.
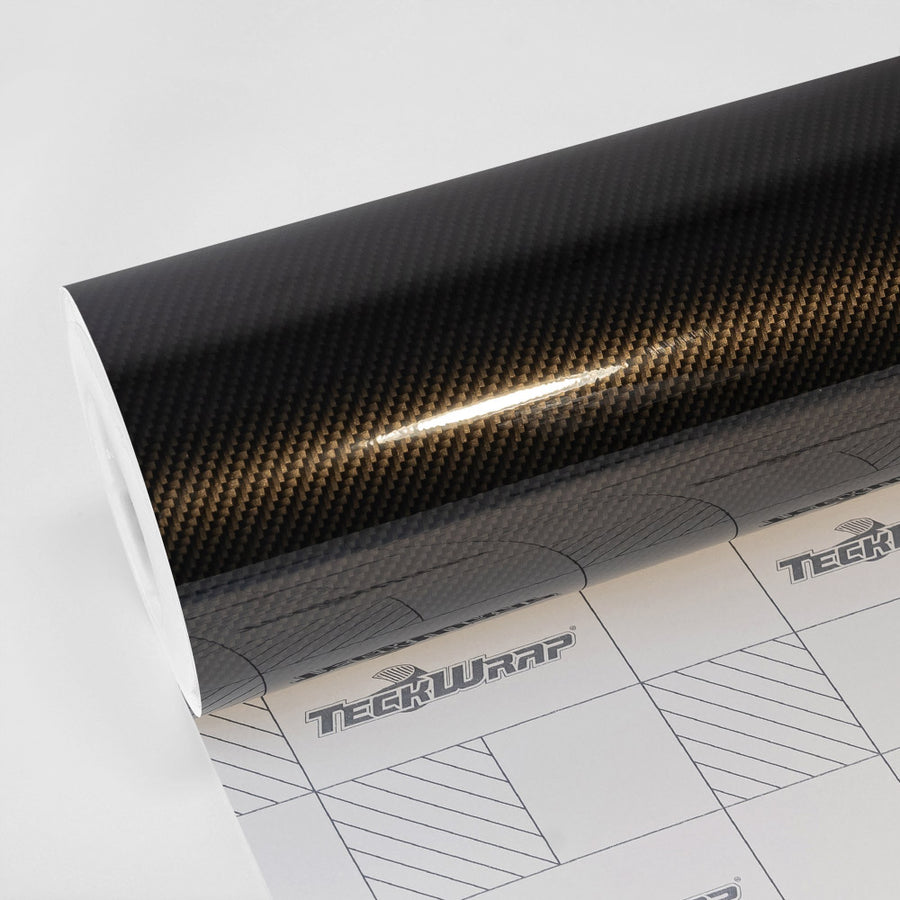
- Carbon fiber: It gives a performance look that suits sport and tuner builds.
- Matte and satin: These are best for a modern, understated finish that hides fingerprints better than gloss.
- Chrome and color-shift: They make a bold statement, but need extra care when stretching and handling.
- Color match: Pair the mirrors with the rest of your wrap for a uniform look and complete transformation of your car.

Step-by-Step DIY Mirror Wrap
Follow these steps for a long-lasting wrap job on your wing mirrors.
Step 1: Clean the Mirror Housing Thoroughly
Wash the mirror with soap and water, then wipe it down with isopropyl alcohol. If you see any rough spots or chips, address them first, because they will show through the film.
There should be no dust, road grime, wax, or grease on the surface, and it should be completely smooth. Pay special attention to edges, seams, and recessed areas. Dry it with a clean microfiber cloth.
Step 2: Measure and Cut the Vinyl
Place the vinyl over the mirror housing to estimate the amount required. Cut a piece about 2 inches larger on every side. This extra material gives you room to stretch and grip the film while you work.
Caution: Avoid cutting the vinyl too close to the mirror's dimensions. A piece that is too small can make it difficult to cover the edges neatly.
Step 3:Apply the Vinyl Using a Squeegee
Peel back part of the vinyl's backing paper and position the film over the mirror housing. Begin by applying to a relatively flat area. Anchor the film at the center and squeegee outward in smooth overlapping strokes. This pushes air toward the edges and prevents bubbles. Work slowly with a steady hand.
Step 4: Apply Gentle Heat Around the Curves
Apply gentle heat to make the film more flexible and easier to shape around the curves and edges of the mirror cap. Keep the heat gun moving, avoid overheating one area, and do not direct heat toward the mirror glass, plastic components, wiring, or sensors.
Tip: If you see small wrinkles on the vinyl, lift the film, apply a little heat, and lay it again with light tension. Do not overheat or overstretch.
Step 5: Wrap and Trim the Edges
Cut the excess wrap with your blade, using the mirror’s natural edge as a guide. Leave about 2 to 3 mm of film to wrap around the edge, then tuck it under with the squeegee or your gloved finger. Keep the blade away from the paint at all times.

Caution: Make sure the vinyl does not obstruct the mirror's adjustment mechanism, indicator lights, cameras, blind-spot monitoring sensors, or other safety-related components.
Step 6: Inspect and Post-Heat to Lock It In
Post-heat the mirror, keeping the heat gun at a safe distance and moving it. This sets the vinyl’s memory so it does not shrink back or lift. Apply controlled heat ranging from 100°F - 110°F (38°C - 44°C). Pay extra attention to the edges and curves. Let it cool before touching it. Allow the vinyl to cure for at least 2 days.

Do Not Make These 10 Mistakes
Master the vinyl application technique on your car’s wing mirrors. Don’t do the following:
| Common Mistakes | Why to Avoid |
|---|---|
| Getting substandard vinyl | A high-quality film is easier to manipulate and gives long-lasting results |
| Skipping the clean | Dust, oils, and wax are the number one cause of lifting |
| Cutting the film too small | You will have issues wrapping the edges properly |
| Overheating the film | Too much heat can ruin the finish |
| Stretching the vinyl too aggressively | The vinyl shrinks back, leading to lifted edges |
| Rushing the edges | Poor tucking leads to peeling |
| Cutting directly against paint | Leaves marks and scratches on the surface |
| Wrapping over sensors | Damages the sensitive components |
| Working in dust or direct sun | Interferes with adhesion of the film |
| Not allowing ample curing period | The adhesive will fail sooner than expected |
Your FAQs Answered
Q. How long does it take to wrap car mirrors?
A first-time wrapper should plan for 1 to 2 hours for a pair of mirrors. Experienced installers can finish both in about 30 to 45 minutes.
Q. How much does it cost to wrap car mirrors?
Doing it yourself is cheaper and costs around $50 to $100. Having a professional install them costs more, around $200 to $300.
Q. How to care for wrapped mirrors?
Wait 24 to 48 hours for the vinyl to cure after installation. Hand wash with a mild, pH-neutral soap and a soft microfiber mitt. Do not use harsh, abrasive cleaners and materials. Park in the shade when you can to extend the life of the film.
Q. Can you wrap car mirrors yourself?
Yes. Mirror caps are one of the easiest parts of a car to wrap, which makes them ideal for beginners. With a heat gun, squeegee, and a quality film, most people can get a clean result on the first try.
Q. How long does a car mirror wrap last?
A good quality car mirror wrap can last for 2 to 3 years. Its lifespan depends on the film's quality, installation technique, environmental exposure, and maintenance.
Q. Is it better to wrap or paint car mirrors?
It is best to wrap car mirrors if you want to maintain their original look and don’t want to spend a lot on their transformation. Wrapping offers a temporary change.
Q. Does wrapping car mirrors damage the original paint?
Np. Correctly applied high-grade vinyl does not damage the original paint. Check the condition of the paint and remove the film using the right technique.
It’s Time to Wrap the Wing Mirrors!
Learning how to wrap car mirrors is a quick, low-cost way to upgrade the look and protect the paint without committing to a permanent change. With the right tools, a clean surface, and careful heating, you can finish a pair of mirrors in an afternoon and get a result that looks professionally done.
Ready to start your project? Explore TeckWrap's range of vinyl wrap films and find the perfect finish for your mirrors.


