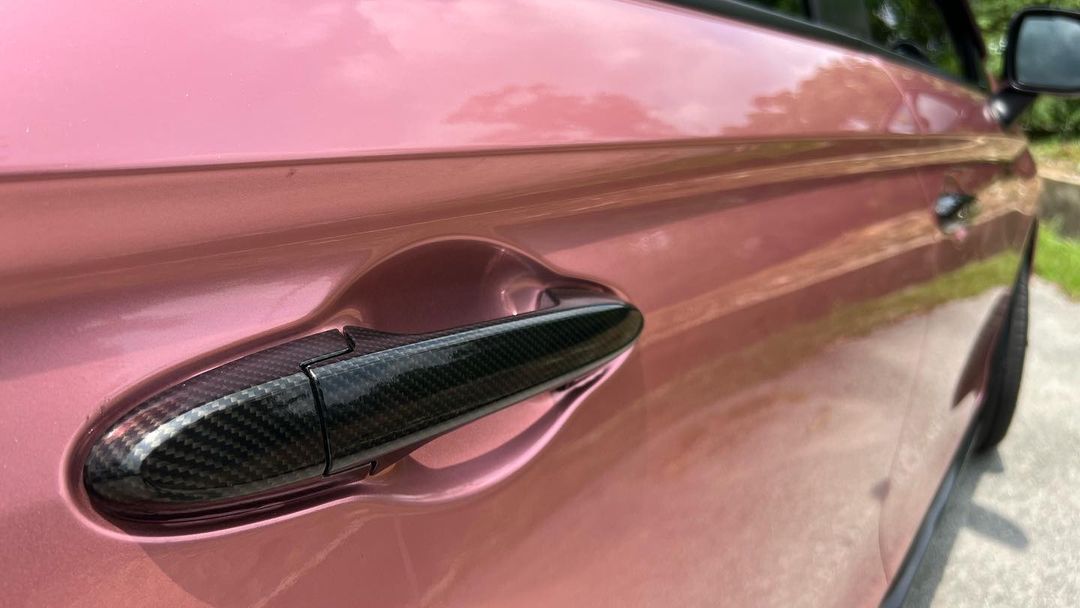
When the vinyl film industry evolves, the properties of the adhesive added to materials have developed, too. This brings changes in car wrap installation. The way wrappers used to avoid adhesive lines might not be applicable due to the variate.
Take a door handle cup as an example, here is what most installers did in the past: They bridge the vinyl wrap film around and over the cup and work the material into the area using their hand with a glove on, squeegeeing with overlapping strokes.
Adhesive sets up whenever you pause
Before the features of adhesive change, this technique can effectively even out the vinyl wrap film, shifting the air out to avoid getting wrinkles and bubbles. This is an excellent method in the past. But after the variate of the adhesive, every time you pause when approaching in this way, the adhesive sets up and leaves a line on the material.
Prep the section
To avoid this frustration, it is better to use a different technique. A few preparations are needed before forming the vinyl film. First, you can put a bit of masking tape on the tiny enclosed area next to the door handle cup. Doing this can help the air escape as you install the car wrap on the surface later.
Work in one stroke
You can then apply the vehicle wrap to the section as usual. Once the panel is bridged around the area, here comes the difference: Add heat to the material before you form it into the cup. Then, use both of your thumbs to work the film from one side to the other (where there is a tiny masking tape), out from the recessed area in one stroke.
Without pausing, there should be no adhesive line. Once the area is wrapped, you can pick the panel up from the side and remove the masking tape. This technique can increase your wrapping efficiency as there is no need to work with overlapping strokes. So it is easy and effective.
If you face this kind of adhesive problem, try this out for a stress-free experience. Learn more wrap tips at teckwrap.com

