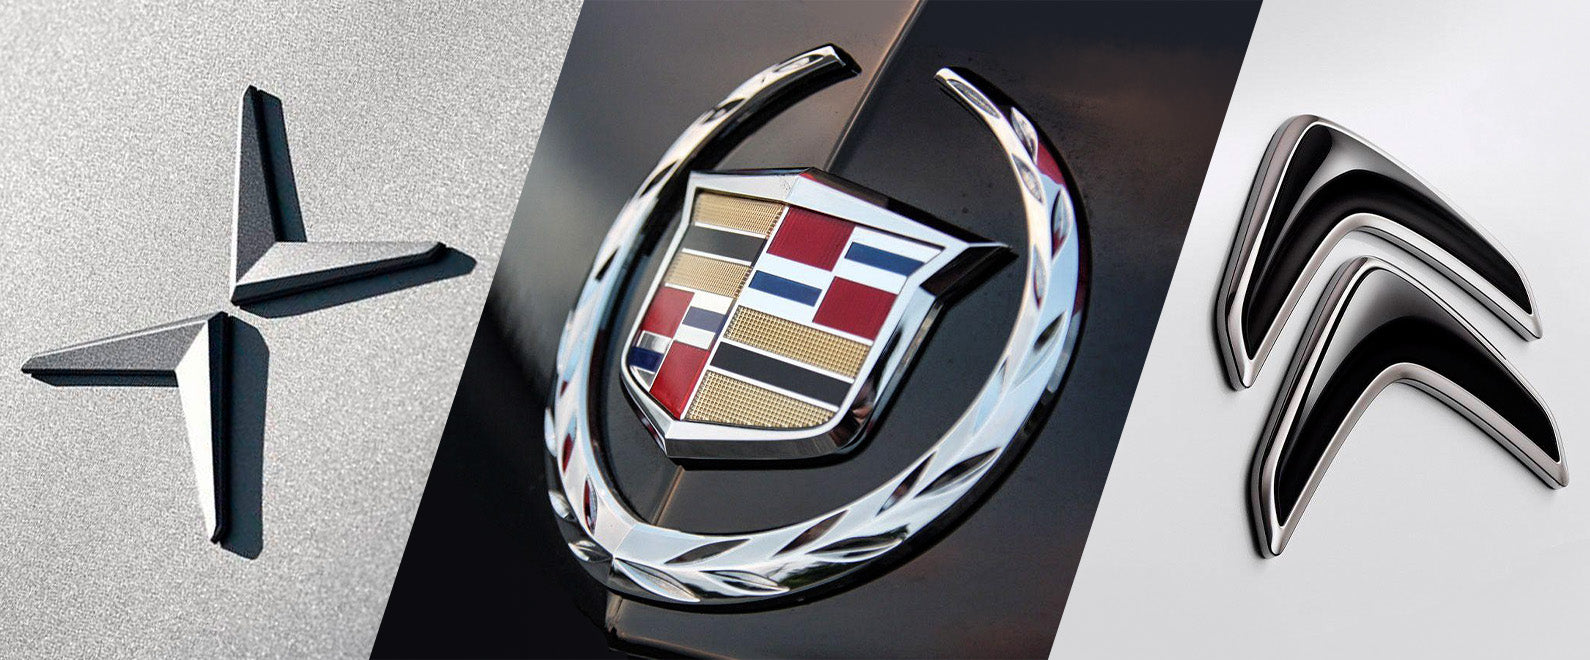
There is a lot to consider when wrapping a bumper with vinyl wrap film. Recessed areas can be one kind of challenge. Besides them, there can be tricky raised objects that are very close to each other, too. For instance, some car logos are put together on a bumper with different parts, which can be another kind of challenge.
Although those parts are small, they are recessed and deep. Thus, it is quite difficult to get full coverage around them. But here is a tip to handle them properly:
First of all, clean up the raised objects thoroughly as usual, making sure each of them is perfectly clean and degreased. And use heat gun to go over them to help dry out.
As soon as the objects are dry, take thin masking tape and apply it to the side of each raised item – put it around two millimeters away from the edge of the objects.
Then use a regular size of masking tape to cover the front side of each object. The masking tape will lower the surface energy and help you pick the vinyl wrap film back up smoothly during the install.
When the setup is done, apply the vinyl wrap film to the bumper as normal, bridging it over the raised objects. But do NOT get the film too tight, as you might accidentally overstretch it. Just get it around the objects nicely.
As the raised objects are close to each other, jamming the material in between them is absolutely the wrong thing to do. The proper thing to do is to make relief cuts around each raised object.
You should be angling your blade in, and cut along the edge of each emblem to avoid cutting the object. Also, cut only with the peak of your blade to ensure the cutting can leave you more than enough material to work around.
When relief cuts are made, apply a bit of heat to relax the vinyl wrap film. Then, use the soft part of your squeegee to feed the material into the sides of each raised object. There should be no wrinkles, as the film is relaxed by now.
Use the hard part of your squeegee to tuck the film into the sides of each raised object. When there are corners, squeegee away from the corners to avoid bunching. Be patient when working around the corners because the film can get overstretched easily there.
After all these steps, if there is any excess film you should cut off, make sure your blade is sharp enough and cut with a 10-degree angle, which is safe for you to prevent cutting the car or the emblem.
As soon as it is done, remove the excess film and the masking tape, then seal the edge with the hard part of your squeegee. You would have achieved a perfect full coverage around those objects.
You might have to make relief cuts several times depending on the situation during the install. So take your time and be cautious, as these are the key to a high-quality and long-durability finish.

