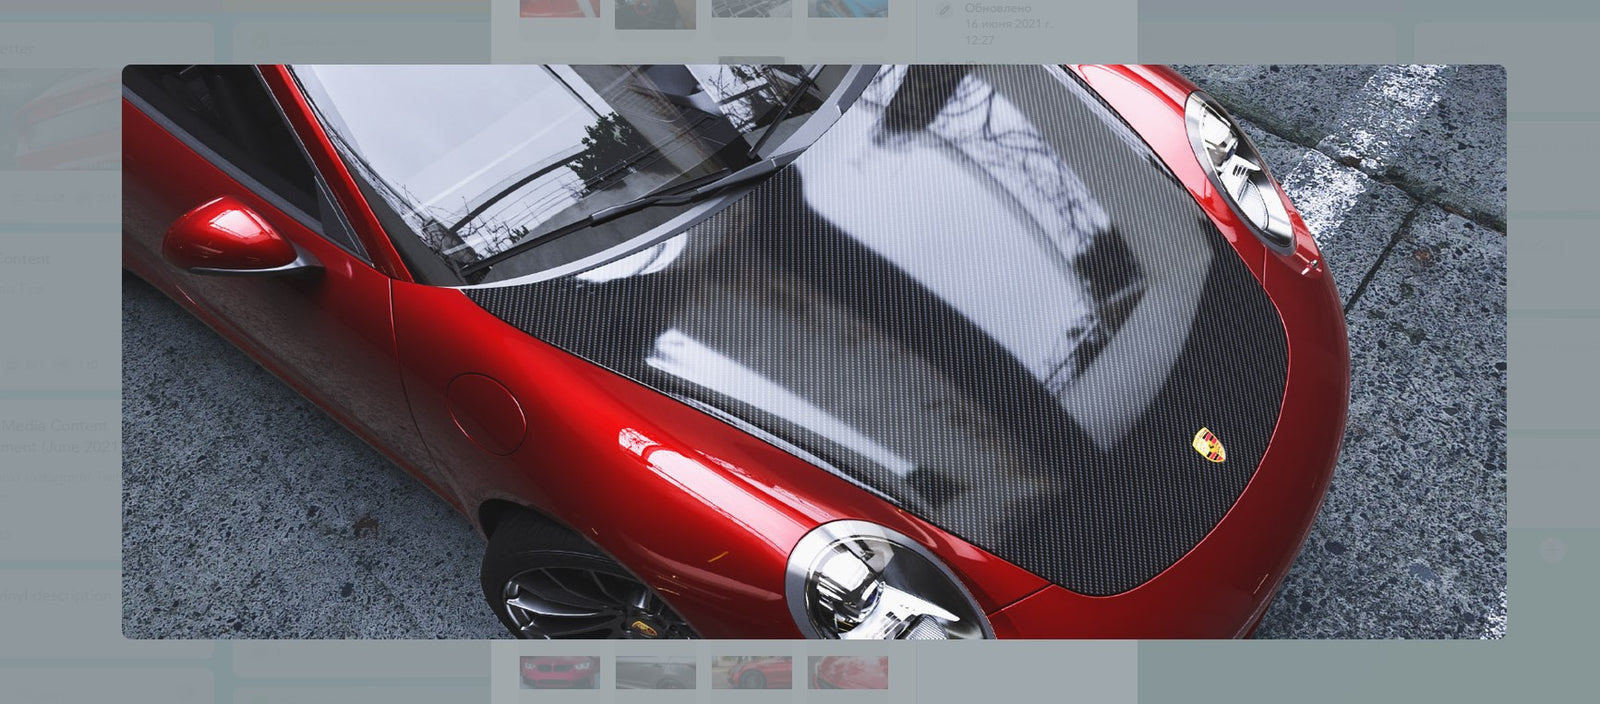
Cutting on a hood seems like a piece of case for most wrappers. You can consistently achieve what you want with the right approach and patience. But is there a way to deal with a hood more efficiently with high quality? Here are some tips for you:
As usual, you should focus on the corners first. For some hoods, there are four corners. But some have more. In either case, you should set the vinyl wrap film on the surface first, form it around, and cut it flush to the base.
Do not forget to sharpen your blade beforehand to make clean cuts. And remember, you should always angle the blade out when cutting.
It is easy to wrap up the flat area as soon as you finish dealing with the corners. Go along the edge of the vinyl wrap film with your finger and ensure it stays secured and even on the surface.
Then, take a plastic knife, angling the blade away from this edge. You will make a cut there and create a slight overlap, looking like there is full coverage. Doing this will save you the time from picking the whole material up and wrapping farther underneath. But in the meantime, it ensures high quality.
As for cutting away the extra film, likewise, angle the blade away, starting from one corner and cutting all the way to the other side. Do not forget to use your finger to seal the edge when it is done.
It is critical to cut with as little movement as possible to ensure your blade stays steady. The less movement you make, the faster you can be, and the higher quality you can achieve.
For the front part of the hood, it is usually flat enough. You can angle the blade out at a 180-degree angle and cut. There is quite a lot of material in this area. Doing this, again, will save you time from picking the material up, speeding up your installation process. The same method applies when you need to cut on the back section.
When all the cuttings are done, apply heat over the entire hood section, ensuring no air underneath the wrap. Otherwise, they will pop up and become bubbles or wrinkles later on.
Material that did not stay well on the surface will jump up in this stage. Once you see it, use your squeegee and finger to seal it and secure it down again. If you cannot monitor the surface quite clearly, try opening up the hood and checking from a higher view angle.
Wrapping a hood and cutting in this way will boost your wrapping efficiency, in the meantime guaranteeing high-quality. Check out teckwrap.com for more wrap tips.

