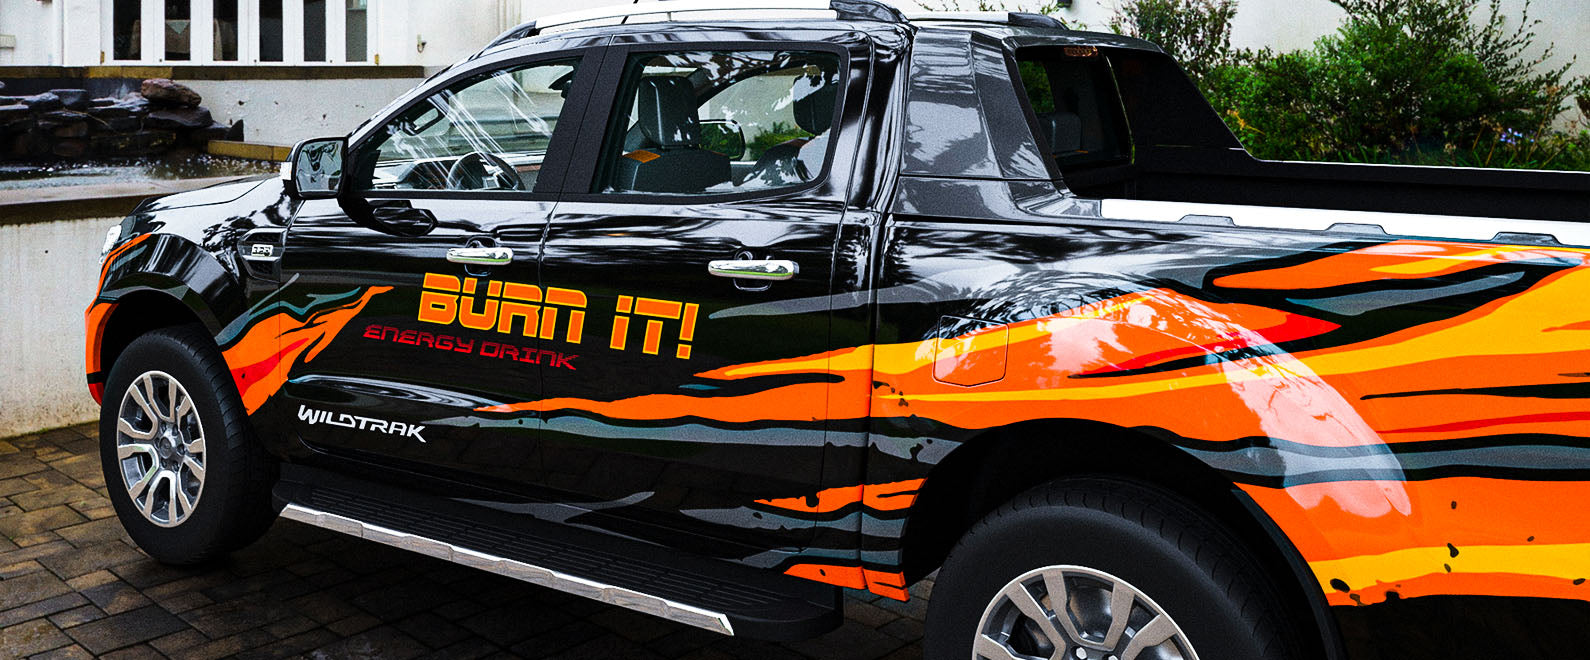
There is potential for every area on a vehicle. Even the window pillars between two doors can be personalized with vinyl wrap film. But making direct adjusting and cutting on this surface is risky, as there is molding. And it is difficult to tuck the material behind it.
Thus, to successfully get it done without stress, it is best to create a pre-cut piece for this area. In this case, it is essential to have a precise template. Here are two ways you can do it:
Using pre-mask tape
Taking the front pillar as an example, this is how you can create a template with pre-mask tape: Apply the pre-mask tape to the window pillar and make it roughly bigger than the area. It is recommended to use a pre-mask tape that you can see through. It does not have to be transparent, but at least you can tell where the edges are.
Use the hard part of your squeegee to set the tape down and flat. Then, open the window on the front door and the rear door so that you can tuck the tape behind the edges. Make sure the whole tape is flat to the molding there.
Last but not least, take a China marker to draw out the edges of the pillar. Be sure to find the right angle to do it. Otherwise, your template can be too big for the area, and precision is critical in this case.
Using masking tape
Don't worry if you do not have any pre-mask tape. You can always use masking tape to create a solid template. Let’s now take the rear pillar as an example: First, run a horizontal piece at the bottom. When you do it, make sure you leave extra tape at the end of the bottom part so you can pick it back up easily later.
Then, run a vertical piece in the middle between two pillars and another one on the side near the back door. Next, add a horizontal piece at the top. By now, you will have the back molding on the pillar surrounded by four tapes. Fill in the space in the middle with a few more vertical pieces. Remember to apply two more horizontal pieces at the top and bottom to secure all the tapes.
Once this part is set, use the hard part of your squeegee to go along the edges to lock all the tapes in place. When you are ready, cut away the excess tape around the edges, and you can mark the edges with a pen when it is done. Then, pick the whole thing up as one piece. You now have a precise template for the rear pillar.
Following these tricks, you can easily create a template for the window pillars the way you like. It can be a great area to spice up the finish and bring your ride to another level. If you haven’t tried it, have a shot next time. Learn more wrap tips at teckwrap.com

