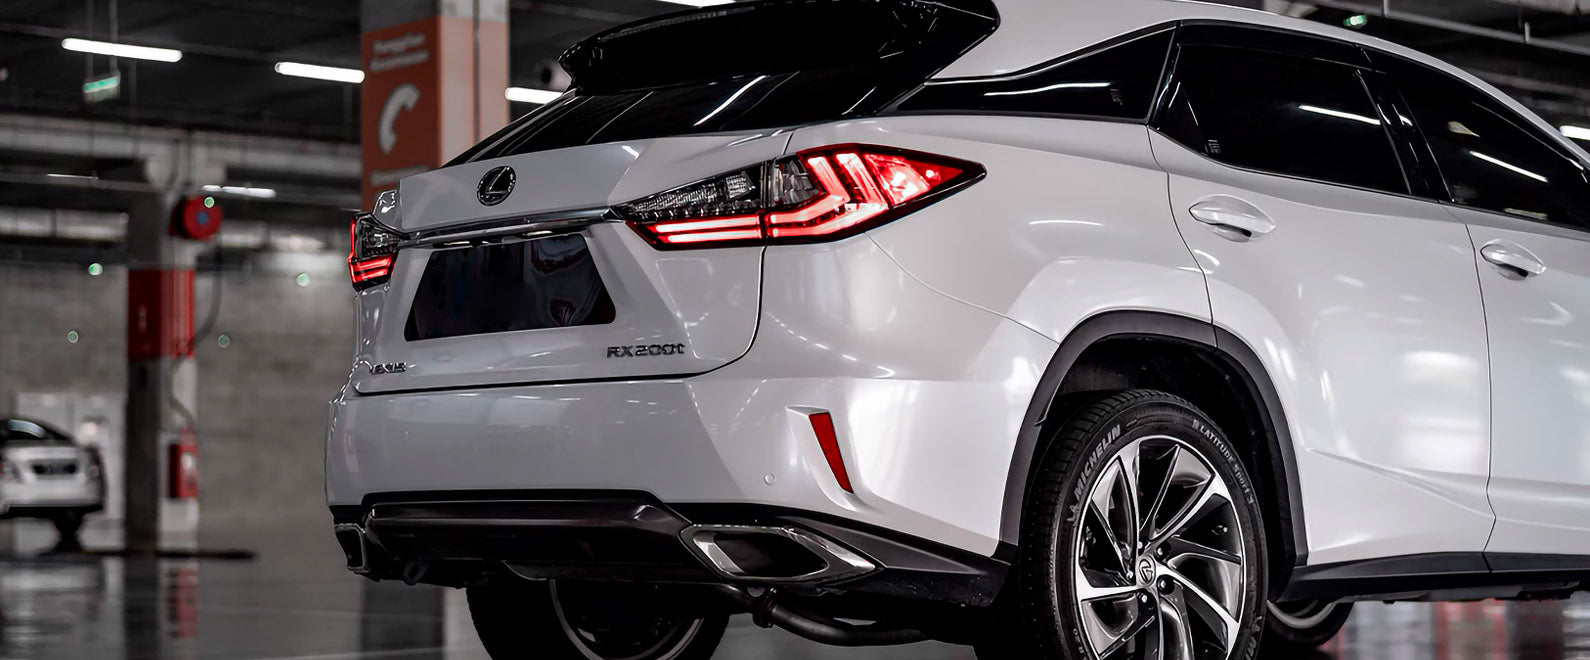
Usually, different types of recessed areas can appear around sections like mirrors, bumpers, or lights. Some of them might have sharp angles, which is tricky to wrap with vinyl wrap film.
Take a back bumper as an example. Some vehicles would have a little square area in between the bumper and the light. This small area is deeply angled into the body.
Typically, a wrapper would bridge the vinyl wrap film over the light area, pick it up, squeegee it down, and tuck the material. Bridging the film out makes no tension at this point.
You can then make a relief cut in between the light area and the bumper from one end of that small square to the other side. Next, apply heat and push the vinyl wrap film into the recessed area.
However, things might start going wrong by now because the material can be distorted. By pushing the film in, you would find tension building up at the bottom corner where you started everything - because you should always deal with corners first.
Even if you push the film in, the chance of it bouncing back is high. It will not last for long because you are overstretching the material more than 15%. As you bridge and push, you are spreading the material out. Thus, the adhesive gets thinner, which can trigger the memory effect in this way.
To approach it properly, you can try using a new technique that is completely different, where you will work to the corner. You can do the exact same things at the beginning: Set the film up, squeegee it, tuck it, pull it evenly, and flatten it out. Then, you can make the same relief cut.
But when heating, think about where you are going to stretch the most and the least. Start heating from where you would stretch the least- In this case, it should be the bottom corner of the square area.
Take your heat gun and start forming from the side of that corner. Once you reach the top corner, you can make another relief cut right there, which will shift the tension out of the film.
Soften the material with heat, start pushing it down to the corner, and work the material to the corner simultaneously. As you work around, you can repeat the same process: pick the material up, heat it slightly, squeegee it to the corner, make another relief cut and continue. You need to shift as much material to the corner as possible when doing these.
Once you get to the corner, things will become much easier as you have fed the material all the way to the corner by pulling and squeegeeing. Right now, there would be tension building up there. You can pick and tuck to even out the tension.
This technique comes with a certain shifting logic, which helps you avoid wrinkles and bunches during the process. It is particularly good for wrapping areas that are deeply angled into the body of a vehicle.
With this technique, wrappers can effectively stay away from film distortion and failures when wrapping sections like this. Learn more wrap tips at teckwrap.com

