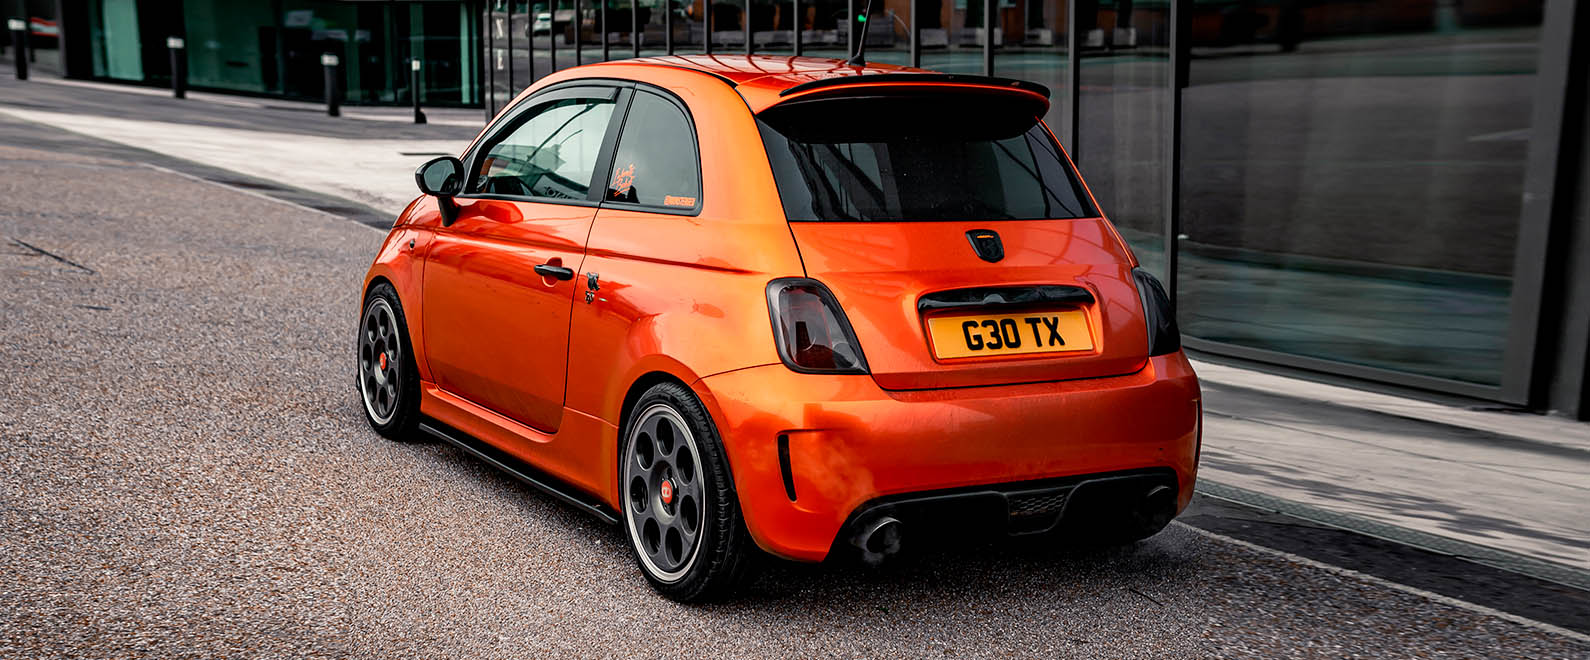
Many hatchback trunks are not difficult to wrap with vinyl wrap film. But there are specific trunks that are quite tricky because they have a thick and solid rear part with a very steep angle.
If you try to wrap it in one piece of vinyl wrap film, there is a very high chance that you would overstretch the material. And the film will bounce back over time. So the durability is low.
The best solution is to wrap it in two pieces of vinyl wrap film, and make an overlap there. Here is how you can do it:
Apply the film to the rear section of the trunk, and pull evenly with triangle shapes to form it well. Then, make a hinge in the middle, and start squeegeeing from the side to wrap it around properly. Make sure it is all flat and has no wrinkle.
When the film is well in place, run your finger along the edge between the two sections of the trunk to secure the material in position. Sharpen your blade and cut along that edge.
Make sure your blade is parallel and flush to the front section of the trunk so that you will not cut the car. And pull the vinyl wrap film with even tension with your free hand as your other hand cuts. This can help you achieve a clean and straight cut.
Once this cut is done, remove the excess film, and use your finger to seal the edge. Then, cut and handle in the same way on the edge of the rear section. When you finish cutting, use your squeegee to form the film well, reading the material, and flattening out every wrinkle. Do not forget to seal the edge afterwards.
By now, the rear section of the trunk should be well wrapped. And it is time for the front area. Prop the trunk with a relevant tool and keep it open. Apply another panel of vinyl wrap film to this area, and work it around until it is perfectly set in position.
Sharpen your blade again and cut in the same way as you dealt with the rear section – But this time, make your blade parallel and flush to the back area. Once it is done, remove the excess film and seal the edge.
By doing this, you can create a perfect seamless overlap. Even better, you would be working with no stress by wrapping in two pieces, because there is not much tension, you can deal with the two sections like you handle a flat area. The quality and durability are auspicious. Visit teckwrap.com for more wrap tips.

