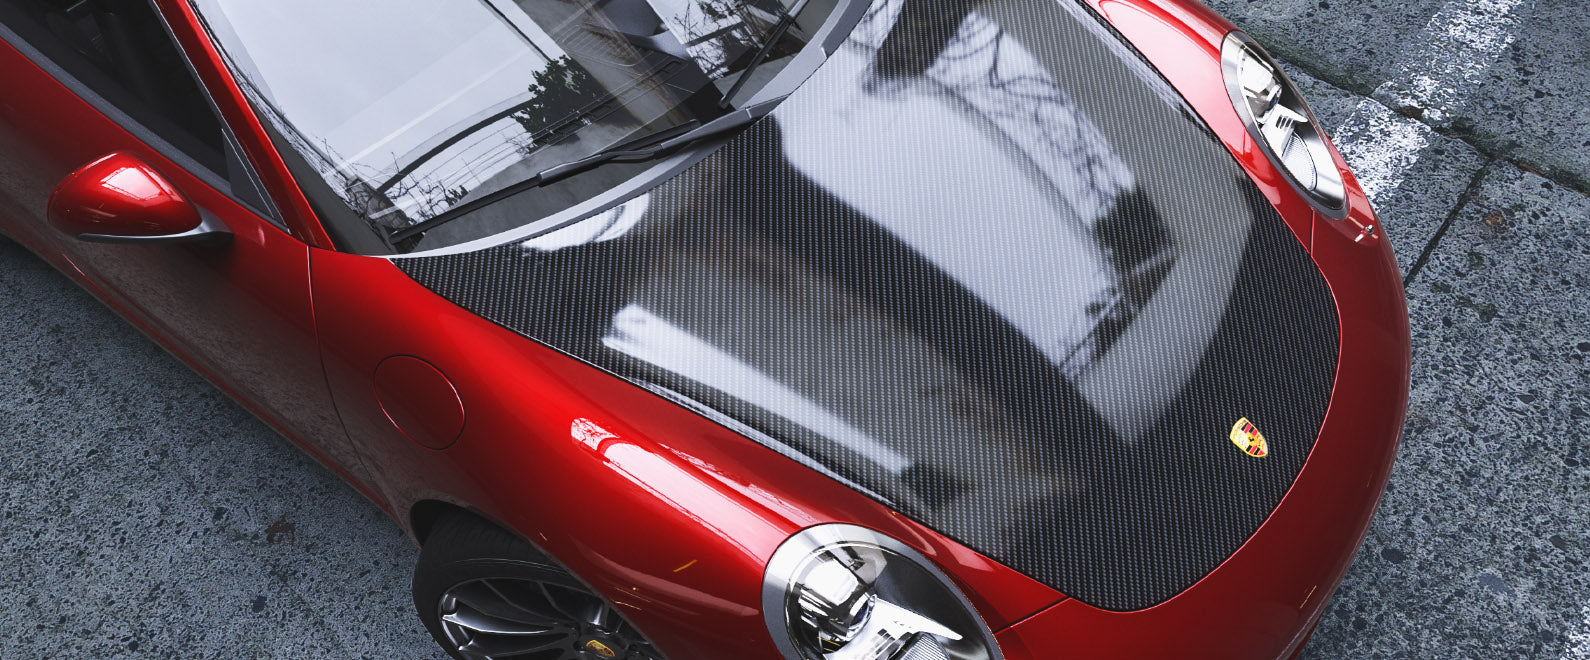
It is a bit tricky to wrap a curvy hood with vinyl wrap film. And if you are wrapping with a carbon film, it becomes a real challenge. It is easy to overstretch and distort the material on a section like that.
Thus, finding the right starting point and using proper techniques to handle a curvy hood with carbon vinyl wrap film is crucial. Here are some useful tips for you:
First, clean the surface thoroughly as you would do with any other wrap jobs. Before applying the vinyl wrap film to the surface, you can put Knifeless Tape along the backside of the front of the hood, which will get you a clean and symmetrical cut later.
Put two panels of pre-mask film, putting one around the bumper, where it is below the hood, and the other one at the top of the hood. This is going to lower the surface energy around.
Then, apply the carbon vinyl wrap film onto the surface. When the material is set in position, slide the entire backing paper out from underneath.
You can lock a corner in place after you first release part of the liner, which can help you remove the rest of it more stably. Make sure you take off the backing paper carefully, so it does not wrinkle on the surface.
By now, you can start the actual application process. Do NOT start from the main flat part as usual. Instead, start from the front, where it is curvy. Use the soft part of your squeegee to lock the middle point in place.
Then, you might start from either the left or right. Pick the material up from the side evenly, and pull firmly with a triangle shape to make a hinge on the side. Then, do the same thing on the other side.
You do not have to worry about anything from top to bottom. Just focus on creating a nice permanent hinge and lock everything in position.
Now that the hinge is there, you can go to the upper corner (Likewise, you can start from either the left or right). Pick the vinyl wrap film up, and pull evenly to that corner.
As soon as you lock the material at the corner, pick the film back up from the side little by little to make the section flat. Then, you can go to the other upper corner and do the same thing.
By making the permanent hinge first, you can shift the material to where you need it and flatten out the wrinkles with no stress.
When the main surface is entirely flat, you can focus more on the upper corners. Pick the material back up a little bit and create glass. Then, pull the film to the top from the middle. Everything will become flat by now.
At this moment, the main area of the hood is wrapped and flat, you can move on to the curvy part at the front. Again, following the same logic, you can pick the film up, then focus on dealing with the corners first.
Pull the material evenly and firmly to the left corner, and to the right from the other side. Then, pull from the middle and make everything flat.
Now you can use the soft part of the squeegee to squeegee everything down. Do NOT press too hard, though, otherwise it might leave adhesive lines.
Once it is done, use heat to relax the film and all the edges. Then cut away the excess material at the top and on both sides. Trim the film down at the front, and open up the hood.
Before releasing the Knifeless Tape, apply heat to the material on the edge there. Once it is relaxed, form the film around, release the string, and cut away the extra material.
You would have achieved a well-wrapped carbon curvy hood by this moment. But do not forget to seal all the edges when the job is done. Visit teckwrap.com to learn more about car wrapping.

