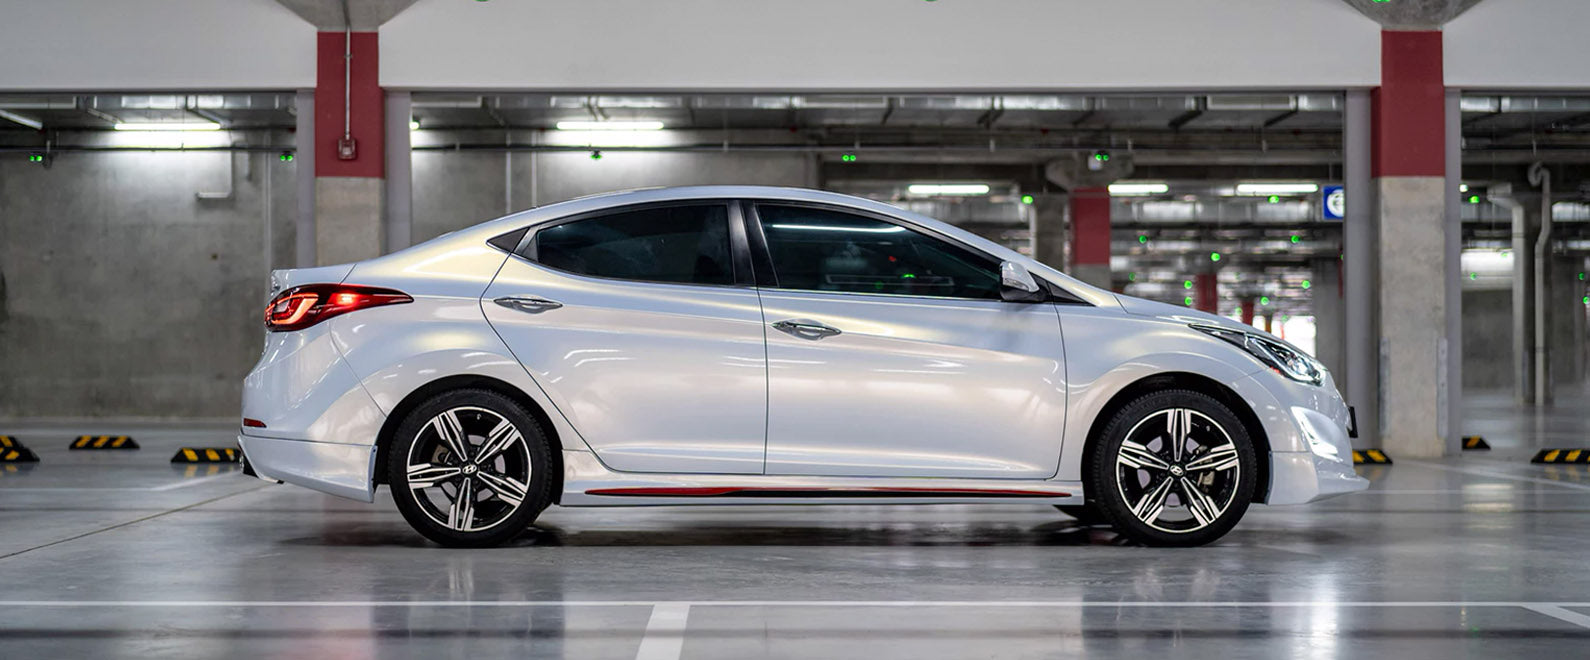
When wrapping a vehicle with vinyl wrap film, it is helpful to separate the body of a car into different sections, which will help you understand better in terms of how to wrap each of them properly with high-quality and long-term durability.
Among all those sections, some of them are similar with the same wrapping logic. Thus, you can handle them in the same approach—for example, a door handle and a side mirror.
To perfectly wrap either of them with vinyl wrap film, you will need to use the same techniques, including cold pre-stretch, triangle, and relief cuts, as they are both made of the same parts: they both have several corners, which have different angles, where you will have to make relief cuts accordingly.
Following the same logic, you should be able to handle either of them smoothly:
Lower surface energy
Whether you are wrapping a door handle or a side mirror, you should be putting masking tape around them to lower the surface energy. This will keep the vinyl wrap film from grabbing the main body of the car that you are not wrapping yet.
Cold pre-stretch - Start from the most difficult corner
Start your application from the corner that tends to gather the most tension – For a door handle, it should be the corner at the front. As for a side mirror, the trickiest part is usually the corner near the junction between the mirror and the main body of the car. Start from there, hook the film at that corner to pull the material with a triangle shape, which you will have to do several times. This will spread out the tension. Create glass as you pull the film.
Heat and shrink
Once the material is set in place, and the tension is shifted out, apply light heat to the edges. The film will then shrink back to exactly where it needs to be. And you can then tuck the material on the edges to the base.
Relief cut
For a door handle, there would be tension at the short part of the handle. Make relief cuts and apply a bit of heat to relax the material around this area. And you can continue tucking in the material with no stress. As for a side-mirror, the same logic follows.
When you finish working down the top section with cold pre-stretch (do not forget to use your squeegee to secure the material before moving on), make your first relief cut near the break between the mirror and the junction to shift the tension out.
Hook the film at the corner there, and work with the triangle technique again as you deal with a door handle or the top area of the mirror. And you might have to make relief cuts several times when handling the bottom section. Just be patient and make sure all the tension is shifted away.
The bottom part of a side mirror might seem more complicated compared to a door handle. But you will be using the same techniques still. You just have to do it back and forth until everything is in position correctly.
Once the film is well applied, whether on a door handle or a side mirror, it should become tension free with these techniques. And you should be able to cut away the excess very easily.
What other sections of a car you think are similar when wrapping? Comment and share with us. Visit teckwrap.com for more wrap tips.

