Getting a high-quality and long-term durability full coverage finish is the ultimate goal for most vinyl wrap installers. Indeed, it requires effort to achieve, but it does not mean you should waste unnecessary time to do it.
For instance, you can achieve full coverage without removing hardware if you have a proper approach. (You can learn more about it from our previous article Wrap Around Hardware with High Efficiency.)
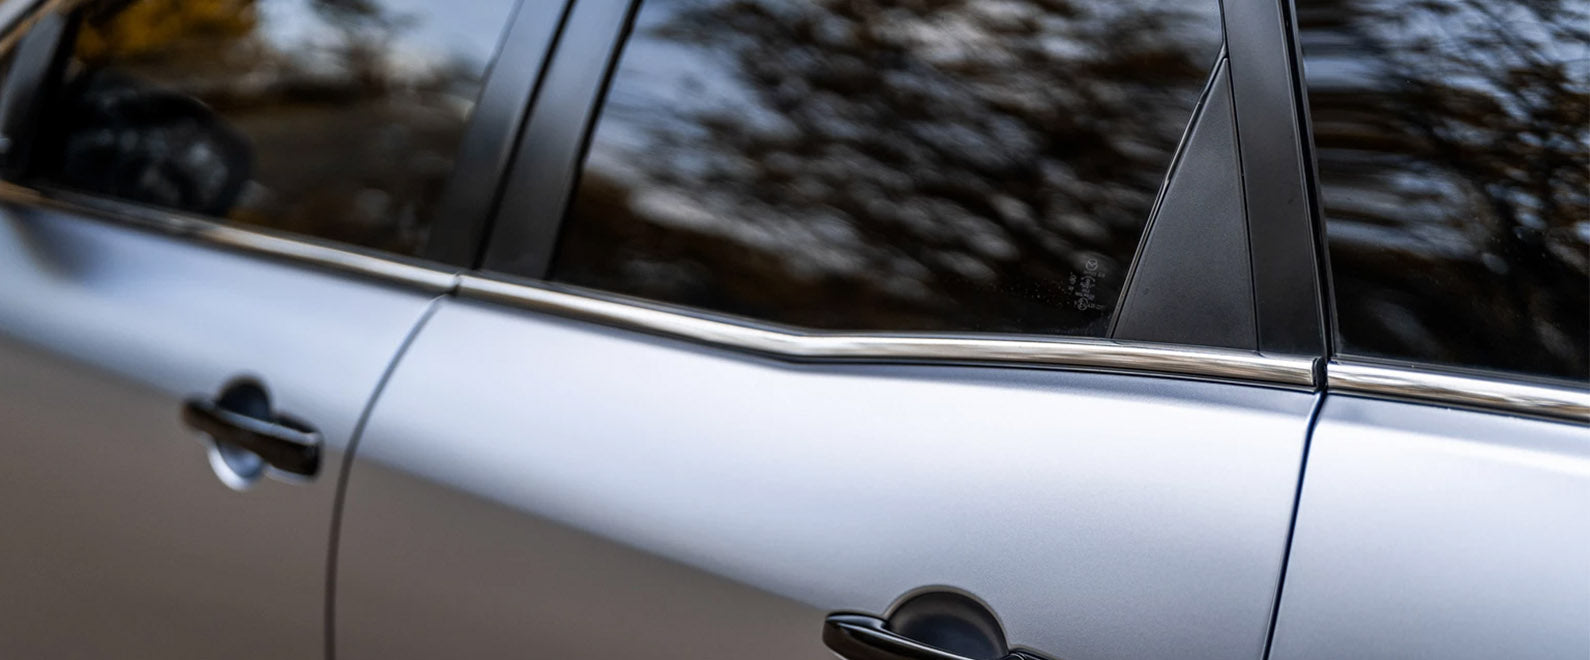
In the same way, when you come across a tight molding, you can also achieve full coverage without having to take it off. (Without removing a tight molding, it can also prevent you from damaging the molding during the process as well, as moldings get bent easily when pulling.)
All you need to do is prepare a scrap piece of backing paper (which is around ten inches wide) and Bridge Line. Bridging the knifeless tape over the section you need to wrap and the molding – make sure the string of the Bridge Line is about two millimeters above the bottom edge of the molding.
As soon as the setup is done, apply the vinyl wrap film as normal. Bridging the material over the gap between the surface and the molding. Squeegee the material down and be sure it is secured.
Release the knifeless tape. Pull away the excess vinyl wrap film, the green tape at the top, and the string at the same time. Let the bottom green tape stay on the car because it helps lower down the surface energy.
Pick the film up on the edge, where you can get access to the gap between the wrapped section and the molding. Slide the liner underneath the molding through this gap (let the side for the adhesive of the backing paper face to the adhesive side of the vinyl wrap film).
Pull off the green tape underneath the film, and use the hard part of your squeegee to glide the film underneath the molding. You will be able to do it smoothly as the liner has lowered the surface energy for you. Work incrementally in sections as you move the backing paper bit by bit.
When everything is done, tuck the film well underneath the molding. You would have achieved a perfectly and fully covered finish with the molding on.

