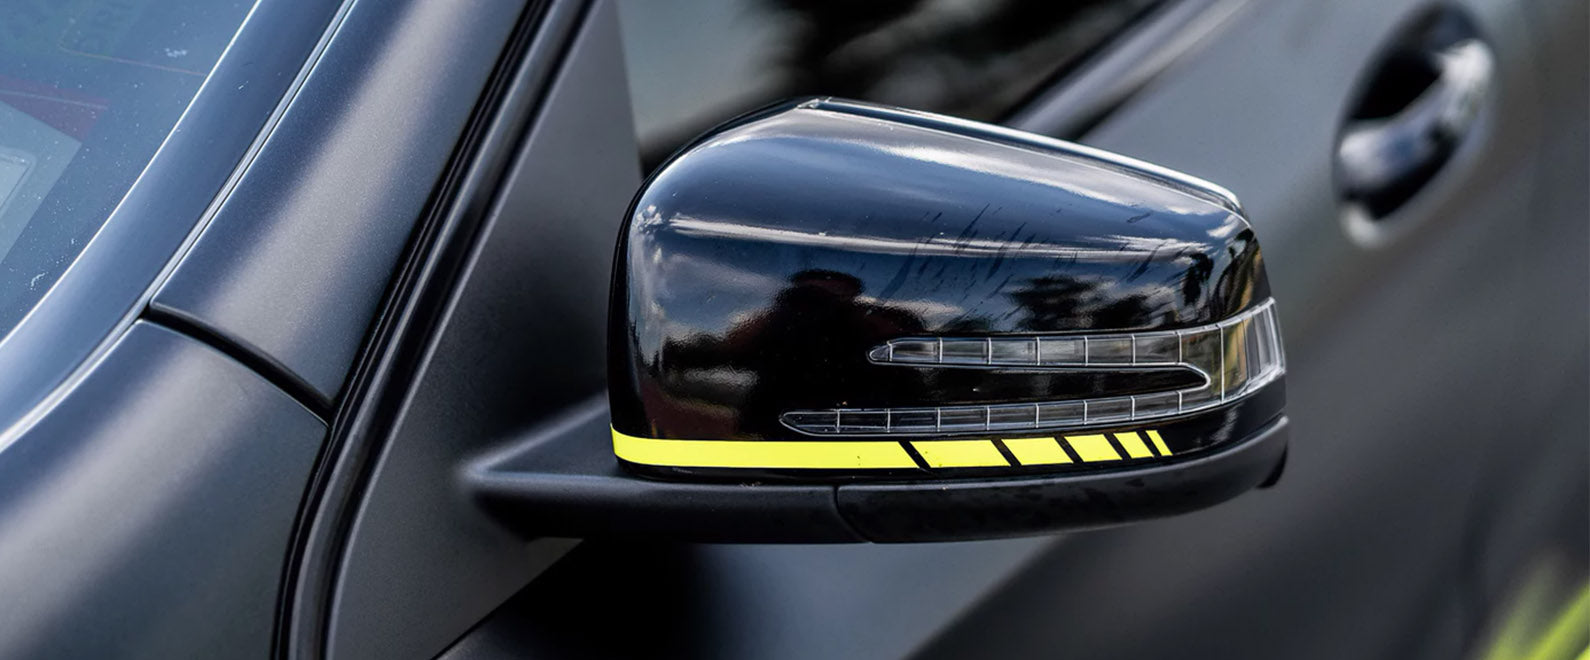
Mirror is usually one of the most challenging areas to wrap with vinyl wrap film. One wrong step, you might distort the material. Here are some tips for wrapping it in one piece to the edge with high efficiency and quality:
As usual, clean up the section before wrapping it with vinyl wrap film. If the area is not thoroughly cleaned, the material will peel or jump over time. Also, try to slide your knife into the groove of the mirror and feel it for a warm-up because you have to make a precise cut later on. When wrapping a section in one piece of film, one wrong cut can destroy everything.
Now, you are ready to apply the vinyl wrap film. You can use the bodyline on the mirror as a guideline. Make sure you do not overstretch the material on the edge because it will shrink back over time. You should try your best to relax the film on the area and secure it onto the bodyline.
Then apply light heat to the corners. When heating, heat the area outside of the part you are applying to soften the outside. You can then spread the film to the edge. Corners are always tricky. You should feed the material to the corners.
As soon as the material is spread and relaxed, use a soft squeegee to conform it. When reaching the edge, you can pick the material up. Please make sure you pick it away from the molding on the edge and tuck the film into the base. By now, the top area of the mirror is ready.
You can then move on to the bottom part, where you will do the exact same things as above: Spread the material out evenly to the edge as it is relaxed with light heat. Do not forget to heat the area outside of the part you are applying when doing it. Make a relief cut when it needs to relax the film in the base.
At this point, you can check and read the wrinkles on the section, pick the vinyl wrap film back up accordingly, and apply heat. Again, you should heat it three or four inches below the area you are applying. Then, squeegee the material down properly to the rubber molding.
As for the corners, you should do the same things as well: pick the material up, give it as much space to relax as possible, and apply light heat. Then, spread the film out. Go lightly straight for the corners. By doing this, you are relaxing the material on the side.
Once the film is set on the main surface area, heat it up – it is not post-heat yet, though. You should heat all the edges at this moment, which will heat up the adhesive on the entire mirror. Then, wait for 30 minutes to let the adhesive flow evenly into the paint and settle.
After around 30 minutes, you can start post-heating. Then, let the mirror cool down before cutting. Pick the film up and tuck it one more time when it is ready. Relax the material on the edge. Since the film has been post-heated, every time you pick it up, you should tuck it in again. There is no more tension on the edge at this point. Make sure you repeat this process until the material is perfectly tucked clean and tight from all angles.
When the film is tucked properly, you can then start cutting. Do not cut before tucking because the material might turn out shorter, and the area will not get full coverage. Cut on the molding side, and you will have enough extra film to wrap around the edge. The tip of your blade should be barely in between the groove. When it is done, remove the excess film and seal the edge.
You will then have a perfect full overage with high quality and long durability. Alternatively, if you are not going to wrap a mirror to the edge, you can also use Knifeless Tape to help. Learn more wrap tips at teckwrap.com

