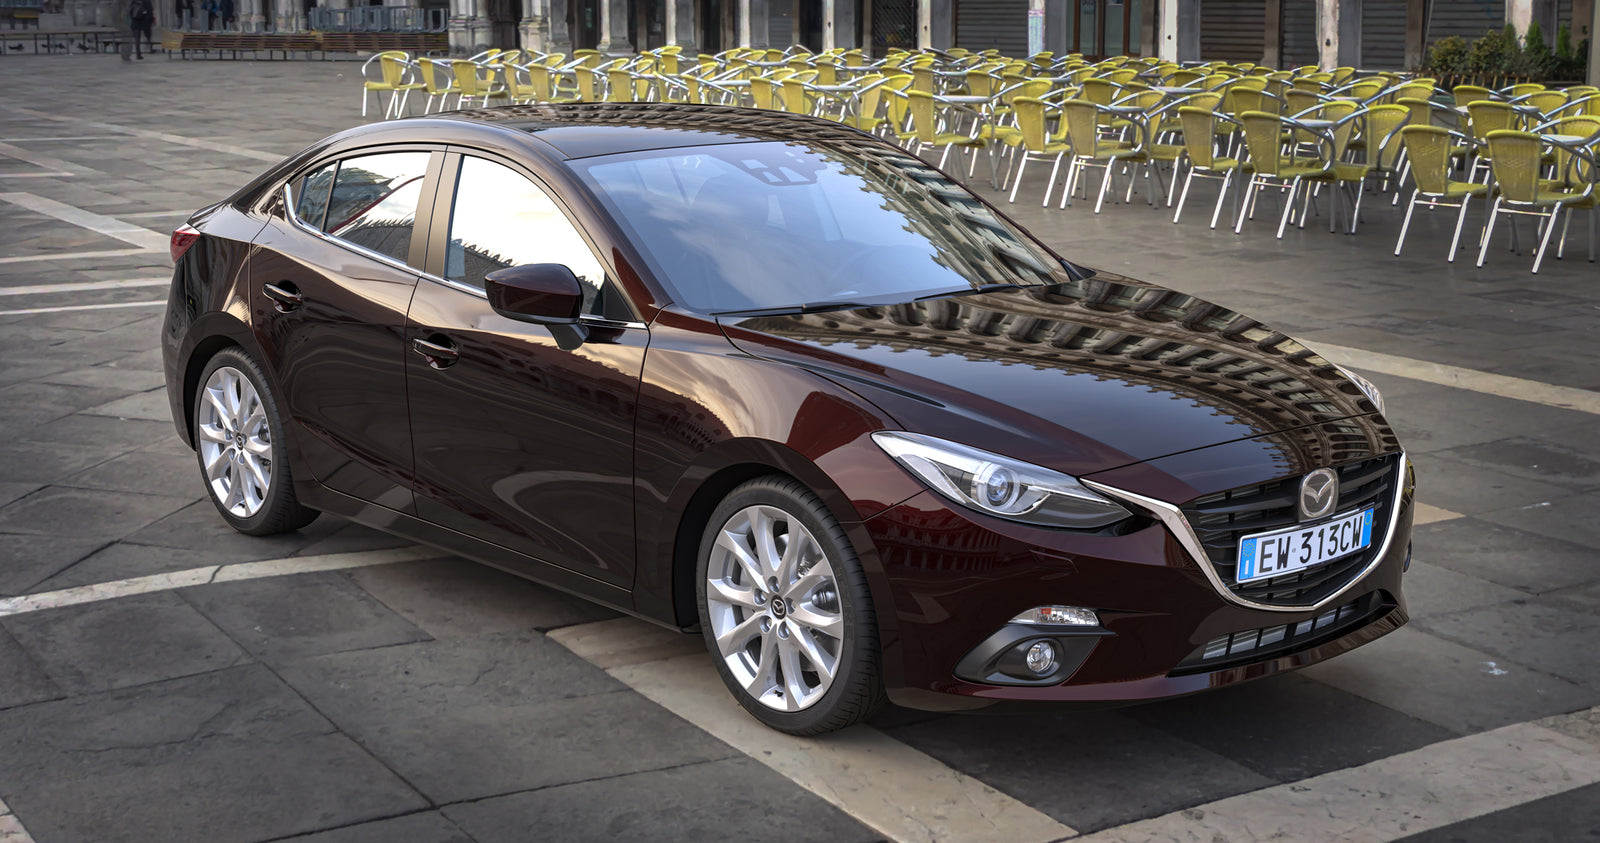
We have mentioned the directional film in terms of how to wrap with it. But when it comes to hood wrapping, installers can be confused still. Thus, today, we will be showing you how to set up panels for color change on the hood when the film is directional.
Wrappers have asked a lot about getting the direction right with material on the hood. Generally, the most common directional films we have are pearl, satin, gloss metallic, matte metallic, carbon, brushed film, and color shift material. But it might be quite confusing to create a uniform look when it comes to areas like hood, roof or trunk.
As we wrote previously before we do anything, we have to first recognize the logo on the backing paper and use it as our direction. We can mark down arrows for easy indication, which is very clear and straight forward, helping us find the right direction more conveniently.
Start with the fender first. As you put the film on both the driver and passenger sides, make sure the arrows on both pieces are facing the same way – for instance, both facing up to be consistent on the sides. So then, your bumper and all those kinds of parts will have to be wrapped with material facing up as well. Keeping the color and hue consistent is extremely important for a perfect finish.
However, when it comes to the hood, it is a totally different story. Which direction should wrappers take here?
Let’s go back to the fender piece first, so we have its direction facing up on both sides. Now we have the hood, where the panel stays horizontal. So apparently as you apply the piece on it, it will be looking different. But the logic is that the fender is vertical to the hood. So in whatever direction you put the material on, the angle will be shifting anyway.
So once you get to the hood, you have more freedom in terms of where and how you put the panel based on the material. Before doing this, surely we have to measure first to see how wide the hood is and have a clear mind about the size of the wrap film.
If you have a 74 inches wide hood, which is wider than the panel we have (60*152), but the good news is that the hood is mostly less than 60 inches from the top to the front of the hood. Therefore, we would take the roll and do it horizontally across, cut it out, and fit it left to right. Make sure there is no overstretching, though.
This is the case for hood panel wider than 60 inches. If it is not wider than 60 inches (for example, when you are working with a compact car), you can then actually take the panel and put it on a vertical way, and roll it top to bottom.
Now let’s talk about direction again. In the case of panel wider than 60 inches, which is more common, what we have to think about is this: Whether you have the arrow of the panel facing up or down, the color or hue is never going to match both sides (even if the three panels are facing the same direction).
However, if you are working with a hood with the size less than 60 inches, have the arrow go in the horizontal way, which means facing either the passenger side or the driver side. You will then have at least one side matching with the hood. Otherwise, if you have to arrow facing up, neither of the sides will match - but this might be more consistent in away. So just think about this.
Once you have a clear mind about these, creating a uniform look with your wrap job will no longer be a tricky task anymore. The hood will never match the side 100% perfectly, but if we can figure out how it works, it will help us understand clearly to meet customers’ expectation more easily.

