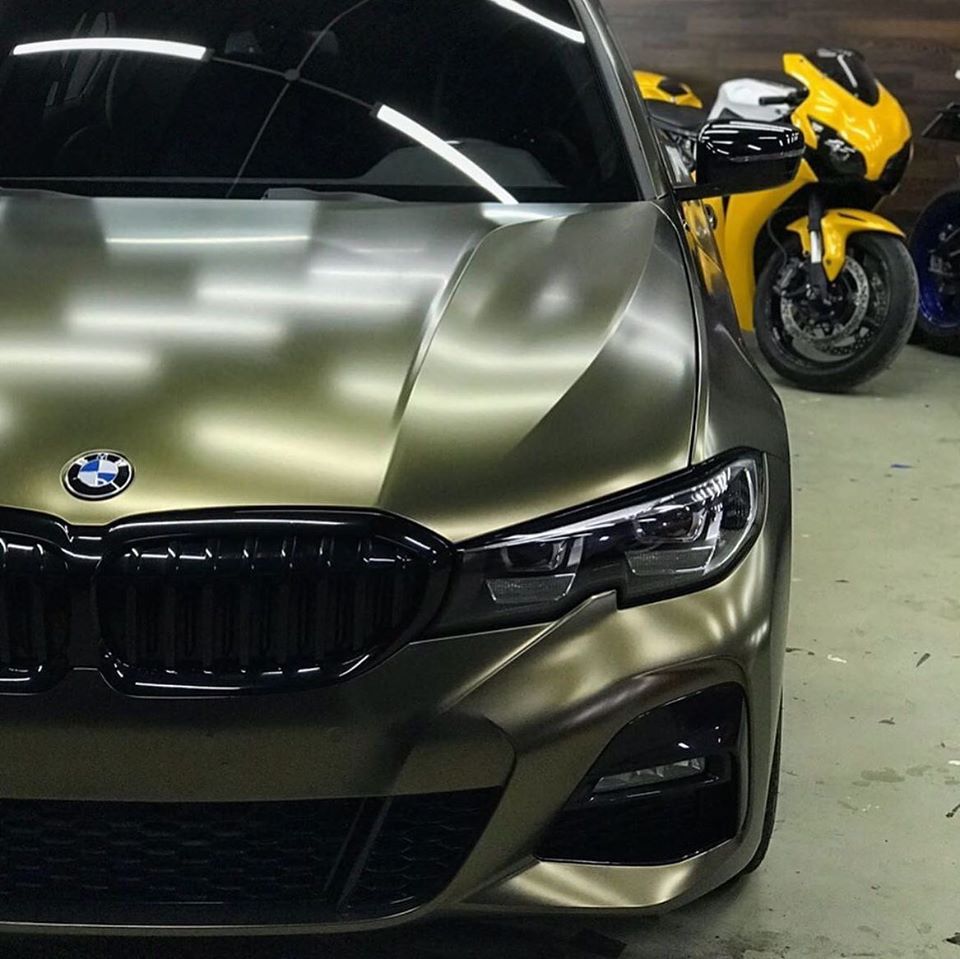
Vehicles vary. And their front bumpers also have different styles. But what remains the same is that they all have some kinds of corners and recessed areas. And the trickiest part to wrap with vinyl wrap film is always the place around the front lights.
Bad install techniques might lead to a re-do or even failure, which would cost you time, money, and reputation. But do not worry. Here are some general tips that might answer some of your questions about approaching front bumpers with vinyl wrap film, and they will surely give you a hand in terms of achieving a high-quality finish.
Before everything, it is good to lift the vehicle to a level where the front bumper is slightly above the height of your knees so that you can be in the best position to approach it.
And also, for the technique that is about to be introduced, it is best to prop the hood so that the hood has some distance away from the front bumper. The reason for this is the technique will involve bridging the vinyl wrap film between the hood and the front bumper - of course though, there is no need if you have a vehicle like BMW X6. (But just be clear, bridging is not the only way to handle a front bumper. Feel free to comment and share with us if you have other great techniques!)
As soon as the setup is done, apply the vinyl wrap film to the front bumper, work from one side to the other, stage by stage. Do not forget to follow this golden rule at all times: Deal with corners first, and the flat area last. Use as little heat as possible, and try to work most of the way cold so that you will not overstretch or distort the material.
Feed the material to all the angles and recessed areas first. And when you come across the area around the front light, which is always the most critical and difficult part, bridge the vinyl wrap film between the hood and the front bumper, and use an IR heater to heat the film evenly, then work it into the corner.
Feed the material in with as little stress as possible – If there is too much tension, the vinyl wrap film will be distorted, and it will lead to failure. Once the material is fed to the base, make a relief cut on the back. You can now create both a top section and a bottom section, and then continue forming the film right into the corner.
The following is to deal with the middle section where the film tends to bunch up. Some vehicles have a corner, which is sort of a beak. If this is the case, always remember to deal with the corner first. Just feed the material away from that corner so that it will not bunch up in the middle.
And at last, you can work on the other side. Again, feed the material into all the angles and recessed areas first – working the corner first. You can feed it in with as much loose film from the top as possible at this stage, forming the material right to the corner.
Use the triangle technique to work the film out and away so that all the tension is shifted out. This is to ensure you have as little tension as possible on the edge so that the film will not bound back. And by doing this way, the film is quite relaxed, so there is no heat needed anymore.
As soon as it is set, you can cut away the excess film from the middle section, then pull the material with glass towards the top, where the area around the other front light is, and you can apply the same technique as mentioned above at this stage: feed the material into the corner. As soon as you get to the base, make a relief cut on the back and form it in.
In this way, a clean edge shall be made, and the vinyl wrap film should be properly and evenly applied to the front bumper section with a long term promise.

