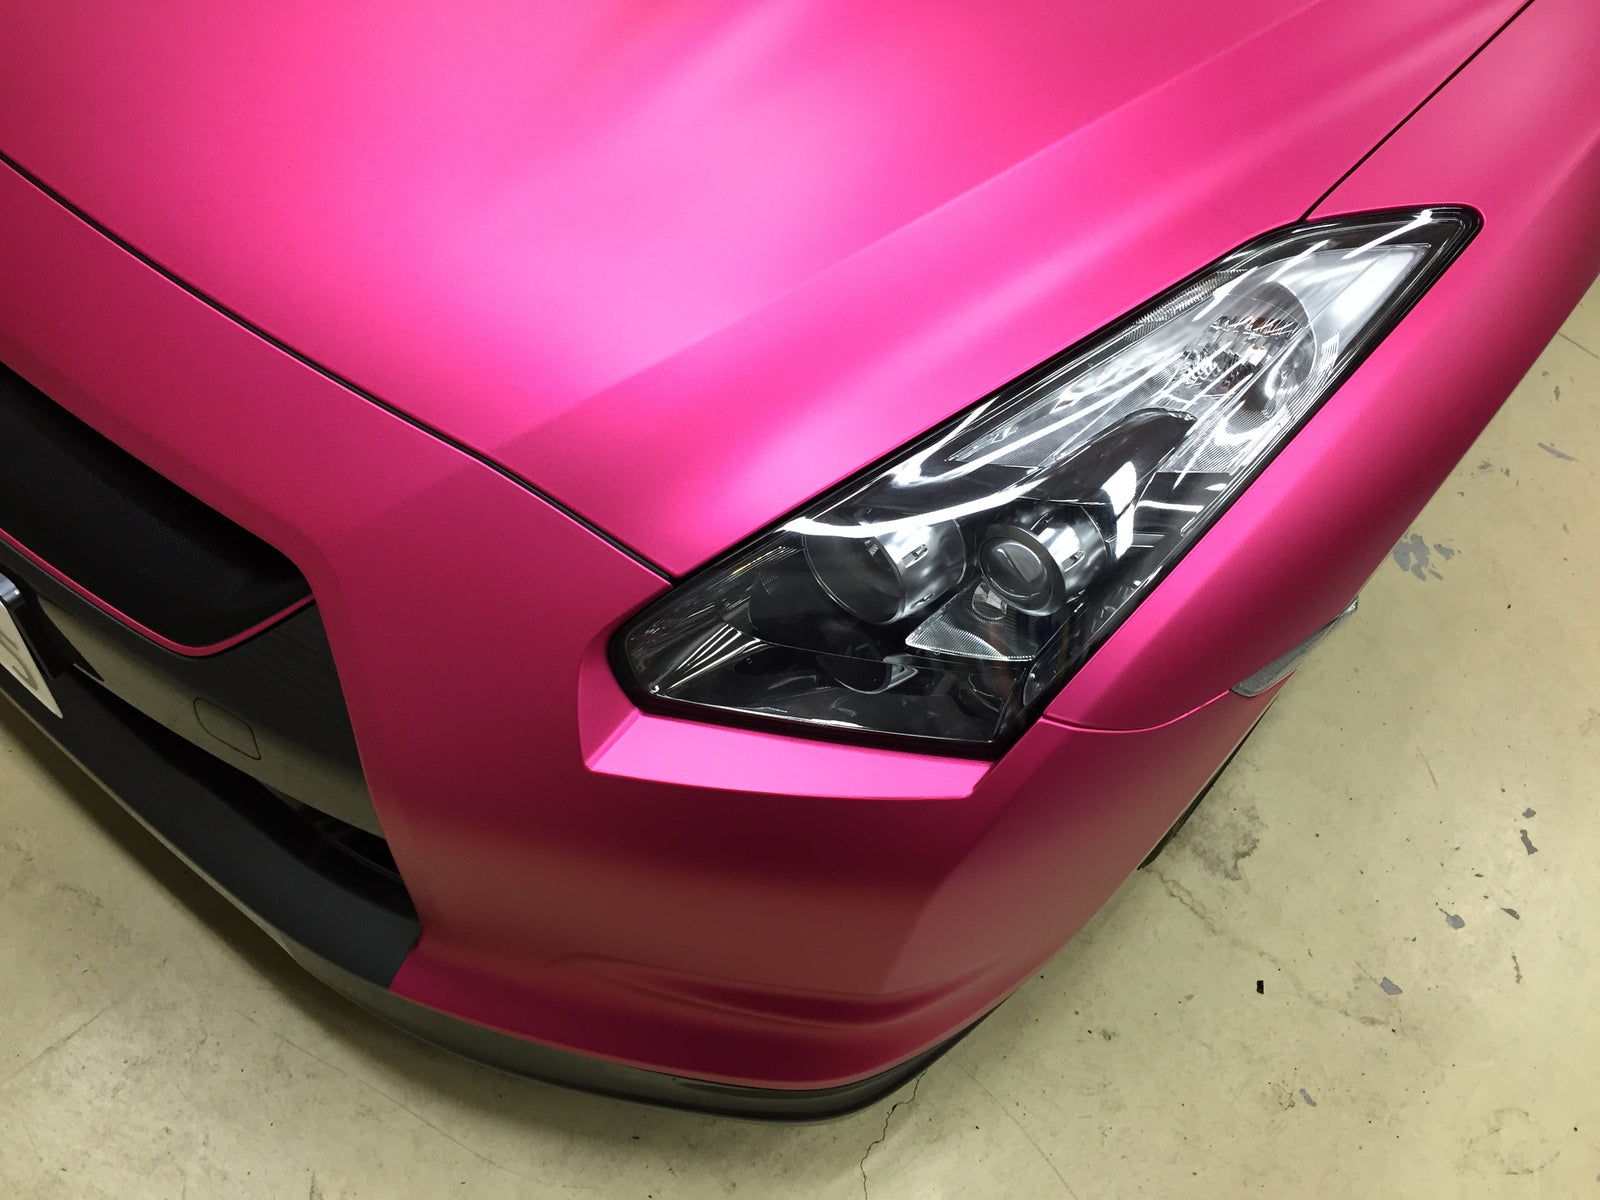
Often times, it gets very difficult for installers to wrap under the front or backlight on a vehicle, especially for color change car wrapping (and particularly for light color vehicle), because as we cut the material away from the side of the light, it always turns out that the material is not enough to cover the whole section.
Thus, today, we will be introducing a very useful technique to solve this problem. But before this, we will also use a case study to demonstrate what would happen if we do it in a “normal” way.
First of all, let’s see what happens with what we usually do. So we apply the material to the front or backlight bumper area as usual. And we work around it to create glass there.
Then, pick the material up and pull it around evenly. Run through the corner and set the film up to the edge. We use the groove of the light to kind of hold our blade and make a secured as well as good empty solid cut (It is an empty cut because we cut on the side of the light).
Next, get the squeegee prepared and squeegee it down underneath the way. There is not much problem for full print here so far. However, if we are trying to change the color of the vehicle, here we will see the original color down the end of the section if we come closer. If it is a vehicle in a light color (for instance, white, yellow or red), the difference would then stand out particularly.
So how can we avoid this as we wrap under the front or backlight? Here we are going to introduce you a great solution where you can achieve high quality by wrapping farther without removing the light.
For the first step, we need to get some masking tape prepared, approximately a quarter-inch or half a centimeter wide (or even a centimeter) – But just make sure that it is not too thick.
We are going to set it up exactly at the bottom edge of the light. Once it is set, get our knifeless tape ready and run its edge just to the top of the masking tape – Let’s make it as symmetrical as possible. The reason why we put masking tape down first is to lower down the surface energy of the light, because it tends to grip the film if we put the material on straight away.
Do not apply the car wrapping film before you get this setup ready. Work around the material as you put it on, and create glass there. Go through the edge with your finger, set the material up just on top of the knifeless tape – so the knifeless tape is a quarter to half an inch above the bottom edge of the light.
And then we have to cut the excess material away on the side in order to access the knifeless tape. As soon as we reach it, fold and hold it, then pull. It will help you make a clean cut there, because we cannot cut directly on the light. Now we can release the film and the excess material at the same time.
But we still have the masking tape there. Now you will be able to recognize how easily the material is held away from the light with the tape. It could have been very tricky because of the grip. Now we can squeegee the film under the light, tuck it in straight away. Squeegee the corner down, then release the masking tape by pulling from the side. And we can finish the section as normal.
By following these steps, we will be able to get a clean and full cover on the area with no wrinkles appears. And we do not even have to take off the light anymore – because for some front lights, they are almost impossible to be removed.
Once we can master this technique, it will promise us a high-quality finish. And it will save us a lot of time because we do not have to spend time on taking the light out anymore and we can be much more focused on car wrapping.

